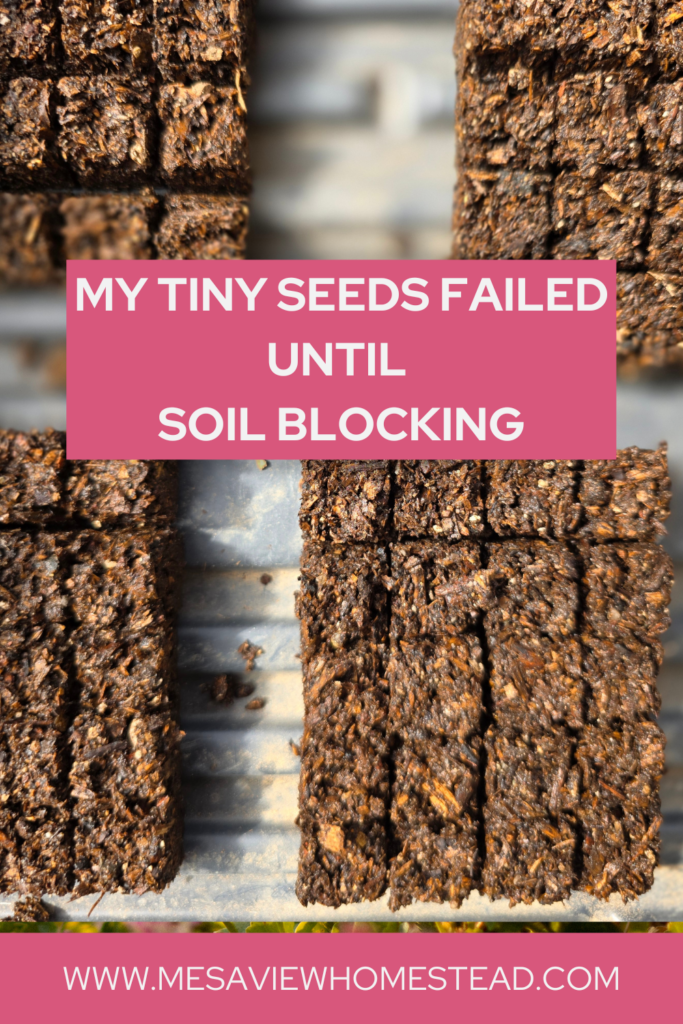
My Tiny Seeds Always Failed – Until Soil Blocking
Beginner Soil Blocking Lessons
I spent last weekend using soil blocking to start seeds for my cut flower garden and immediately knew why my previous attempt at tiny seedlings never worked 😊
I fly by the seat of my pants quite a bit, until I’m forced to slow down and research, and discover why my first attempt at something failed. It’s just my nature and one that sometimes serves me well, and other times – not so much.
I’ll say this: If you want to plant flowers and the seeds are incredibly tiny….or if you want to plant flowers and save some money, in either case, I recommend soil blocking.
Soil blocking requires the following supplies:
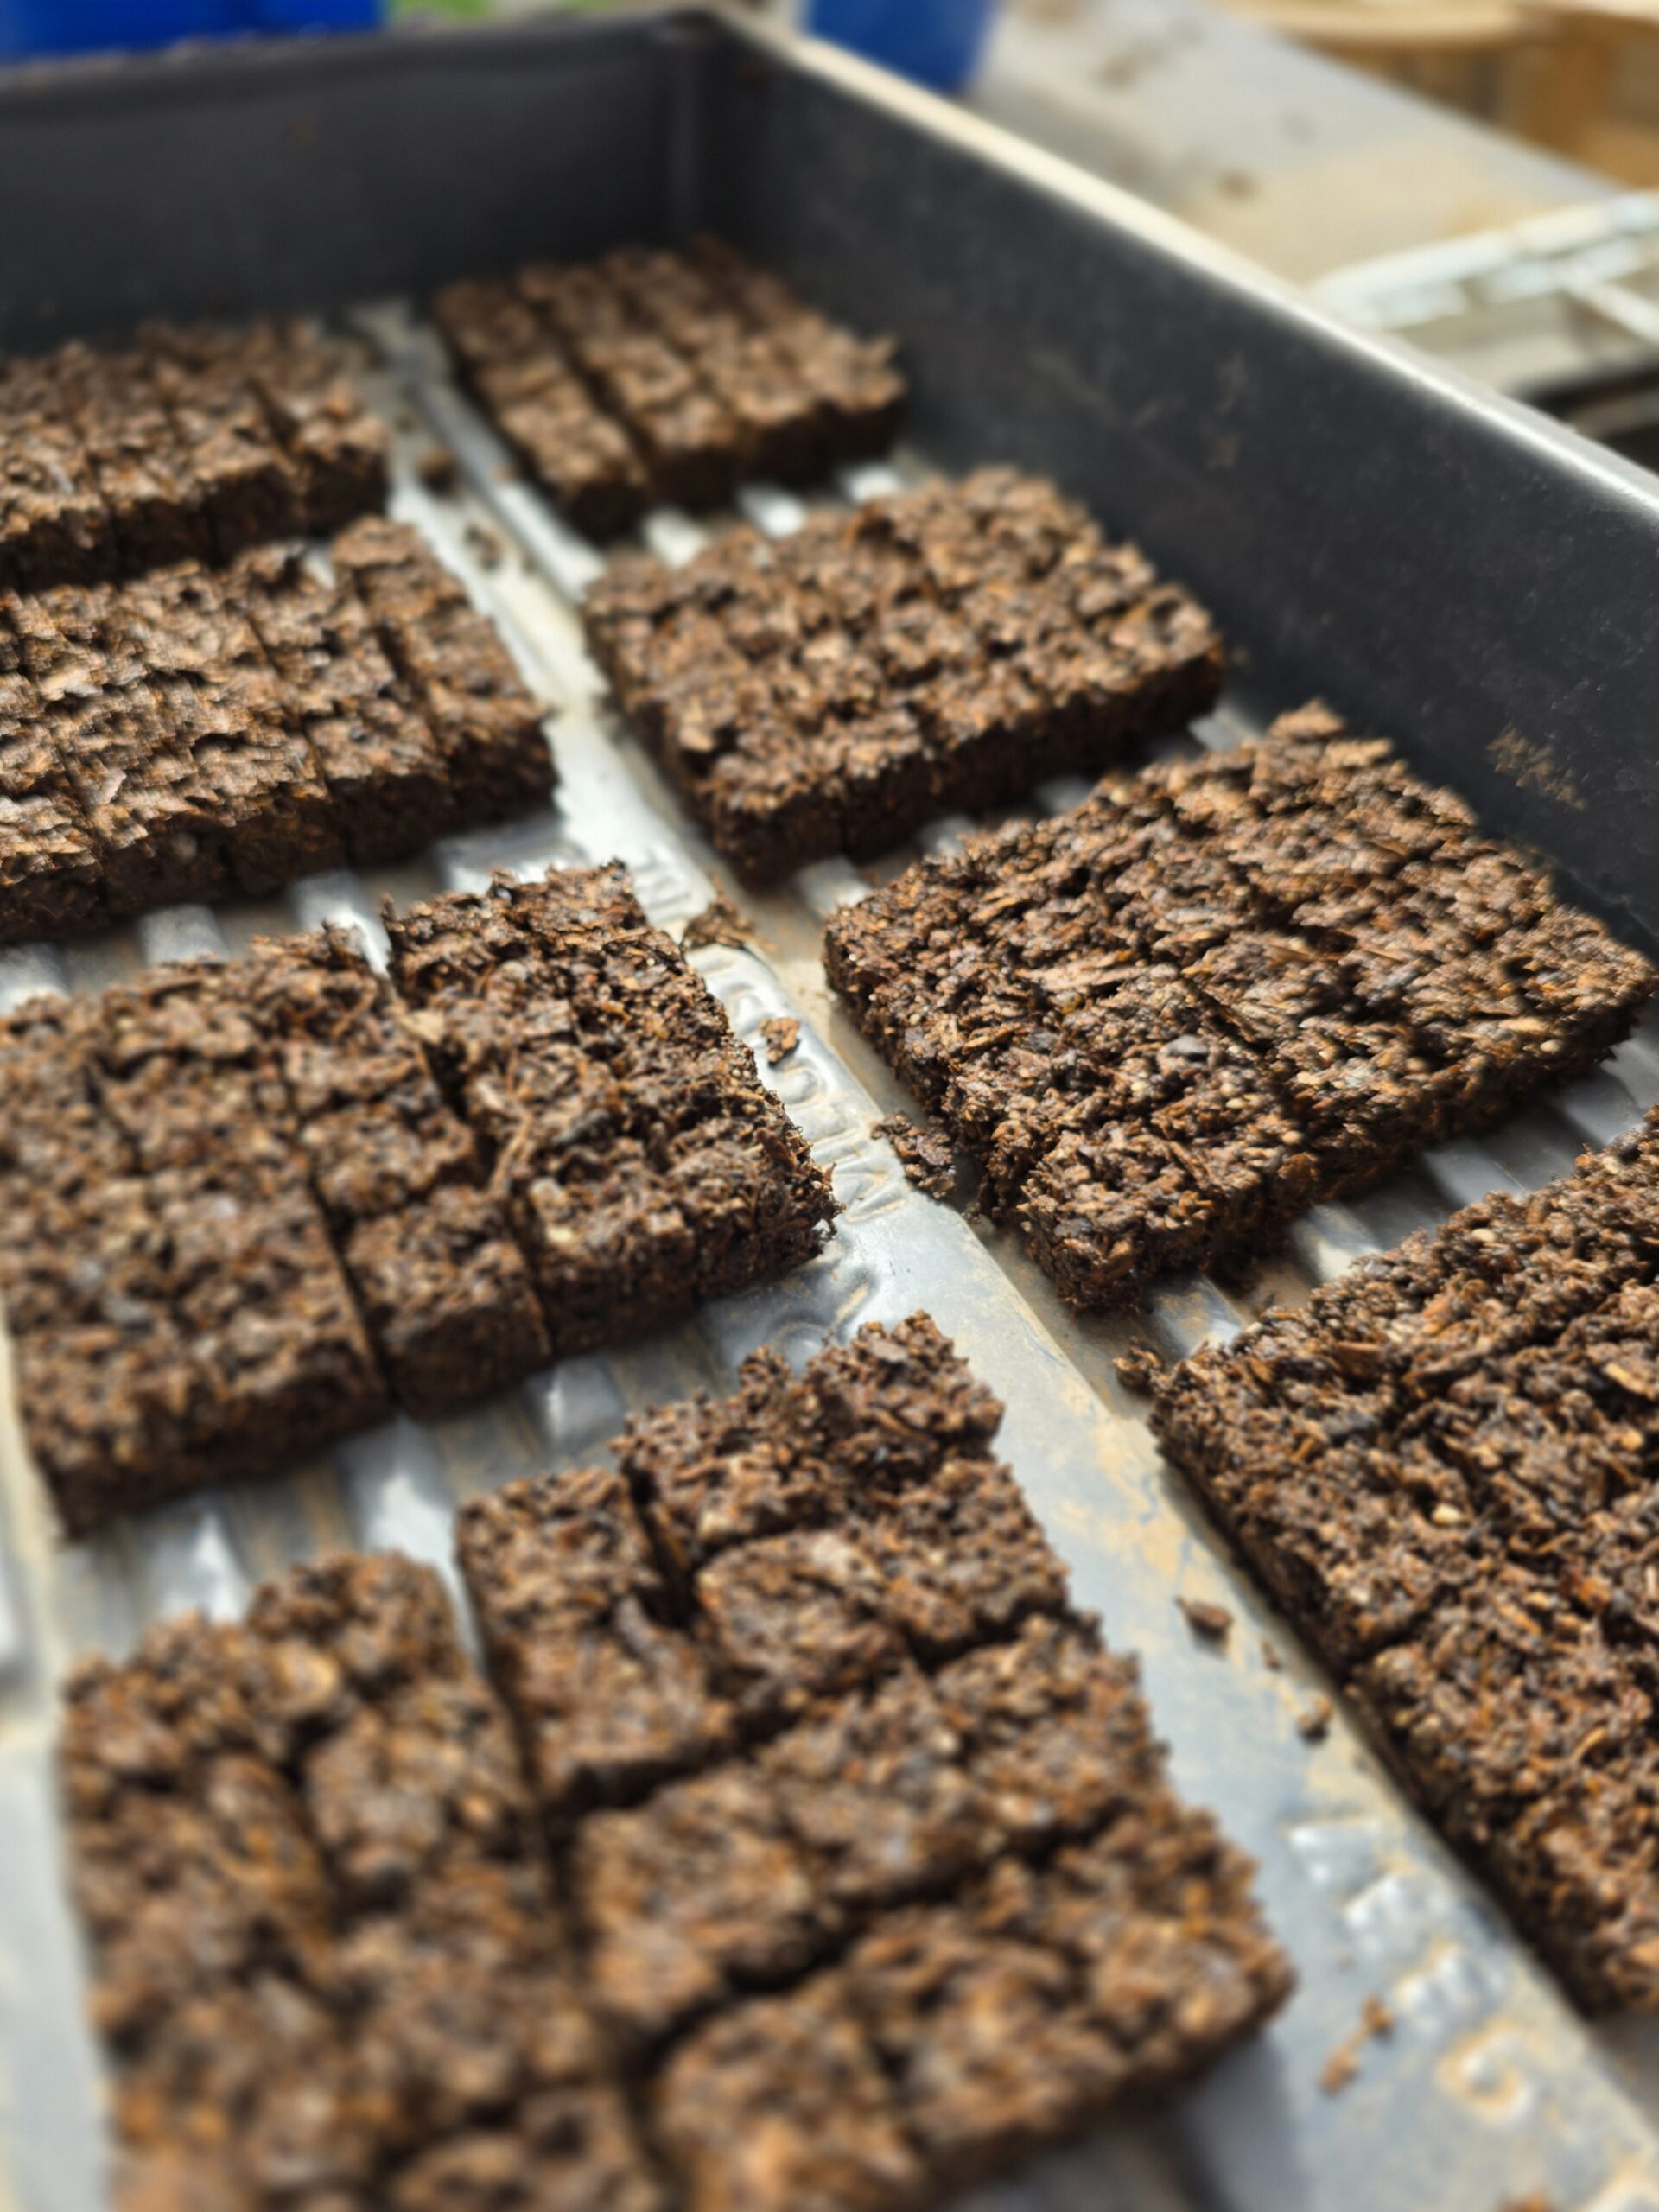
- Fine, sifted soil (this is key for block formation – more on that below!)
- A soil sifter to create this fine soil
- A tub to catch the soil after sifting it
- Seeds
- Trays and covers for the soil blocks
- A warm environment with moisture
- Something to use to disperse the seeds
- A spray bottle mixed with hydrogen peroxide and water (50/50 mix)
- Soil blockers (you pick the size based on your seeds)
Sifting Soil
We thought we had purchased soil that would be fine enough to mold into blocks for the soil blockers. That was not the case. No matter what soil we used, it required sifting. Perhaps you will find a soil that saves you this step – we did not.
My husband simply made us a sifter using four pieces of leftover wood and a screen. He hammered and stapled it together so that it fit perfectly over the tub and allowed the soil to sift gently into the tub. Any sort of tub will work – simply something that you can drop the soil into and also move it around easily with your hand.
Seeds & Labels
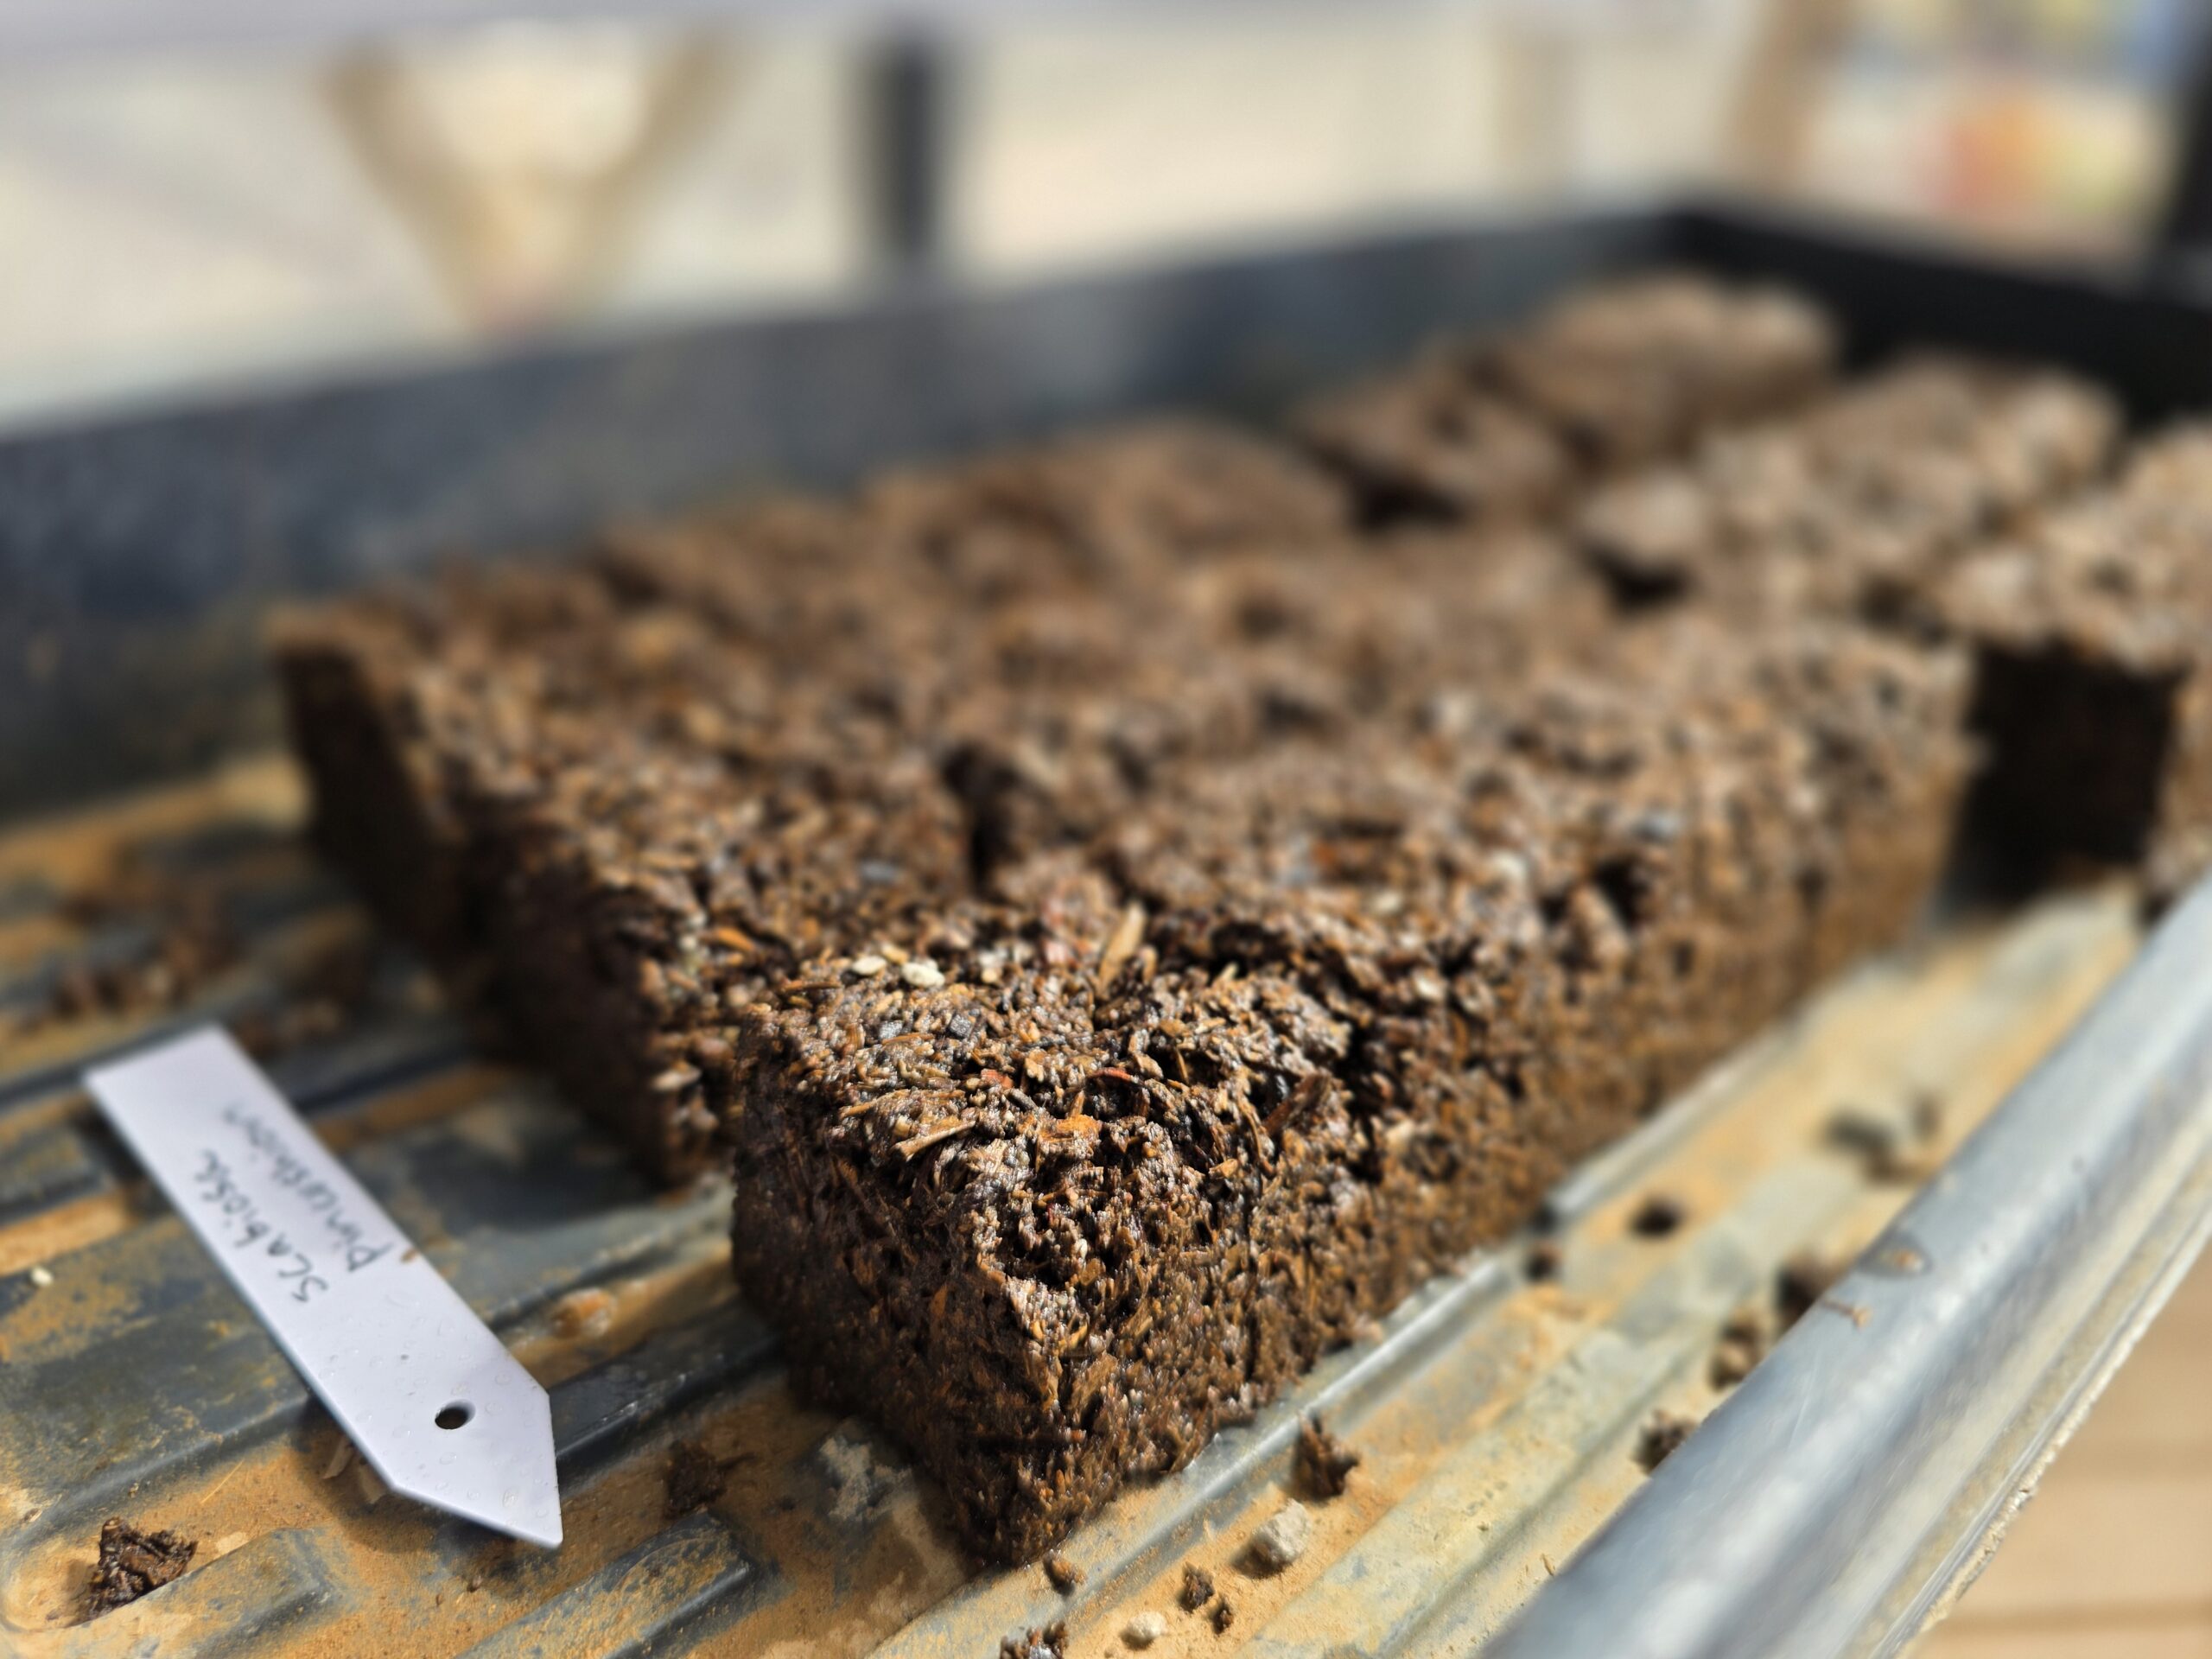
Buy your seeds, but also be sure to read the back of the package to see what it says about seeding inside or out. You also may have a seed that requires soaking overnight – these things are important to know! Be sure to purchase labels of some kind for your seed blocks. You will be soooo thankful later. Also, purchase a garden pen because it is designed to withstand water and weather.
Trays/Covers
We placed our soil blocks in leftover trays we got from various garden stores over the years. We had a few lids for some of them, and the rest we simply covered with plastic wrap. Paula Rice talks about using old cookie sheets, etc., so be creative and don’t waste a lot of money here – it’s truly not necessary.
A way to disperse the seeds into the blocks
For the larger soil blockers, you can easily pick up the large seeds and drop them in and lightly cover them. For the tiny 20 soil blocker it became necessary to find a better way.
I went with Paula Rice’s suggestion and used a corner of a thin cardboard box (mine was a sandwich bag box). I then took one of my plant label sticks and I lightly dampened it before picking up the seed and dropping it onto the soil block. You can press it a bit if needed, but I didn’t bury it in the soil block. This method worked brilliantly. I have other seed dispersers that I have purchased over the years, but they tend to let too many seeds slide in at once.
Hydrogen peroxide/Water mixture (50:50)
I learned this from my cut flower class with Paula Rice (credit where credit is due – thank you Paula!). I just took an old spray bottle and filled it with water and hydrogen peroxide from the grocery store. Spray the top of the blocks lightly after planting your seeds.
This helps avoid mold, fungus (including damping-off) and supplies the seeds with oxygen.
Environment for Seedlings
The environment is crucial. You need warmth, moisture, and a temperature around 65 to 75 degrees (depending on the seed type). Soil blocking is really about mastering this part!
The soil blocks should be a nice dark color due to the water. You don’t want water sitting in the bottom of the tray except when you initially add water. All the water should be absorbed into the blocks. It should feel like wet brownie batter and should not crumble from dryness or be so wet that it falls apart. You should always water from the bottom. I have seen some people mist their soil blocks if needed, so keep that in mind, but I have never had to. I misted them only after the initial planting with the hydrogen peroxide/water spray.
The fact that your seed is inside a soil block is a huge advantage. Your seed will not get root bound in a container. The roots have air and will branch inside the block. Also, transplanting is less of a shock because you are simply placing the block in the ground.
Finding Balance
It’s about balancing moisture and heat to get the seedling to pop up. Once it pops up, you want to take the cover off your tray. You ultimately will need a sunny window or grow lights to get the seedlings to grow properly. If they don’t have enough light, they will get leggy, and spindly – this has been my biggest problem in the past! Once the roots start showing on the side of the block, it’s time to transplant or simply move to a bigger block if you can’t transplant yet due to weather!
Check the blocks at least twice a day. I check in the morning and in the evening to be certain the moisture in the blocks looks right.
Once my seedlings pop up, I’ll be back with a new post about that! Soil blocking has really forced me to slow down and think about what the seed needs, very much like how I handle dough when I bake 😊 Sometimes concepts from one skill transfer to another! Happy Soil Blocking!!!


I love the versatile ideas you’ve detailed here! I also had no idea about the hydrogen peroxide and water mix. Do you know if that would work for my house plants? I sometimes get little gnat dudes. Haha!
I’m planting some seeds this weekend so this information is timely. Thank you for sharing!
Absolutely it will help on your house plants!!! I don’t have any house plants because I can just barely keep up with the outside plants, so if you do this, please let me know how it goes! But it should help – fingers crossed 🙂
I always wondered why my tiny seeds were never successful! Thank you for sharing!
Tiny seeds are challenging aren’t they? I hope this helps!
I enjoy learning new things about planting and have been wanting to start more from seed. Thanks for the tips!
You are welcome!!!
This is my first year starting seeds, so this was perfect! Thank you!
You are so welcome!!!