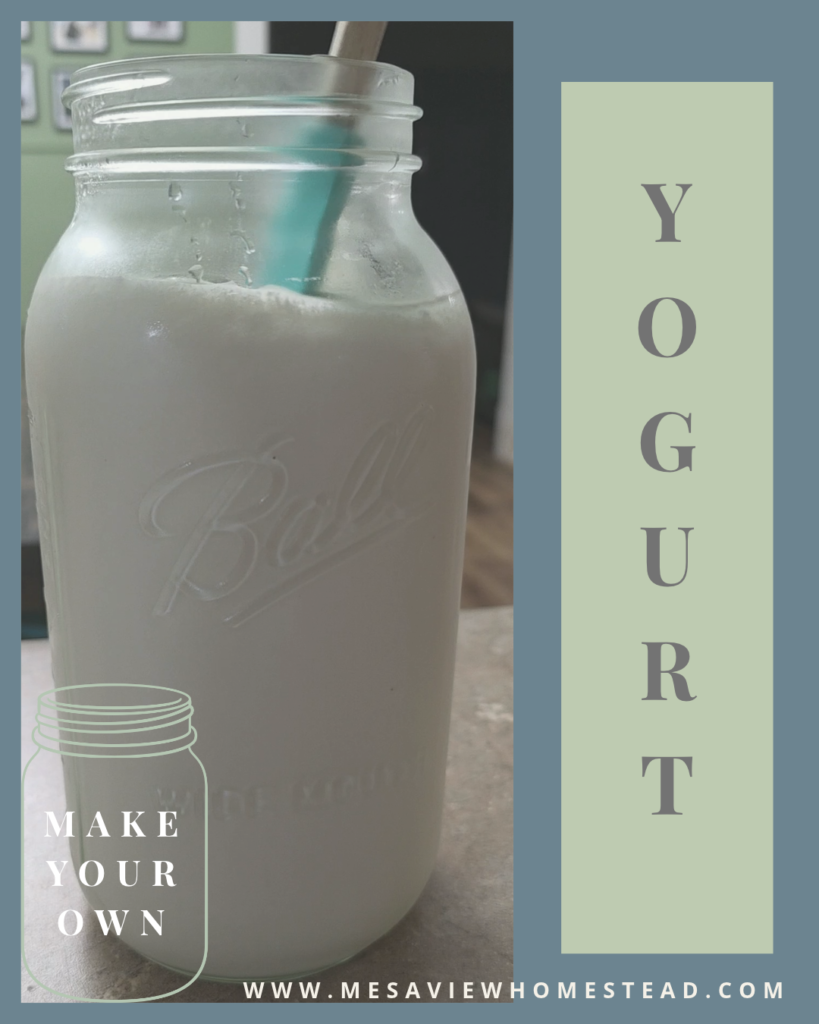
Easy Homemade Yogurt: Just Two Ingredients
You don’t need fancy equipment or a long list of ingredients to make your own yogurt. In fact, you only need two simple ingredients and a little patience!
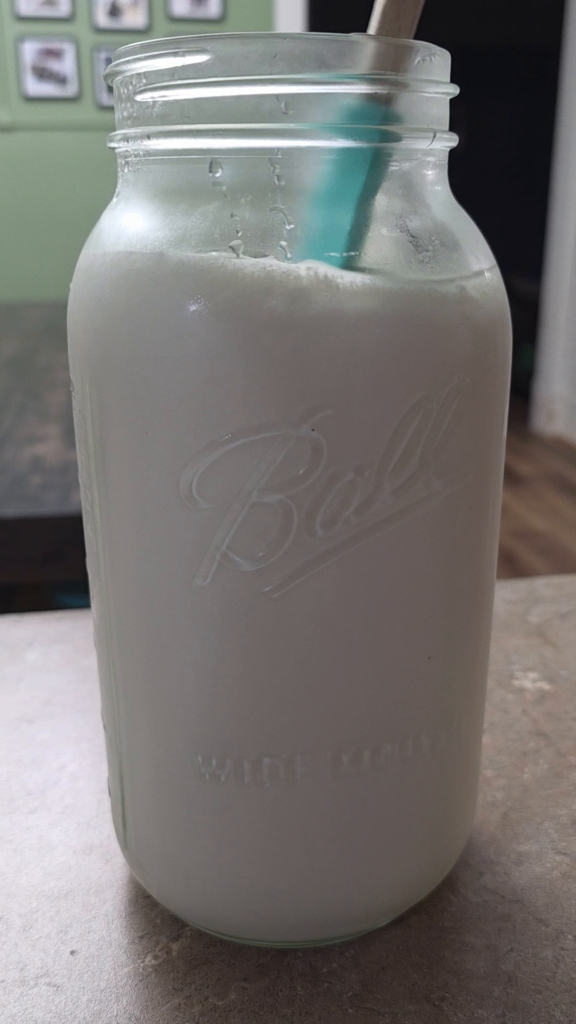
Consider yogurt-making a great way to practice and examine a mindset shift around our beliefs about the necessity of moving at a fast pace – why is this really necessary? What are we rushing towards?
Making yogurt at home is one of those skills that reminds us how much we’re capable of doing for ourselves. Something we routinely purchase at the grocery store can actually be made right in our own kitchens.
And the best part? Once you learn the process, you can make it again and again. Next best part? Huge savings.
Let’s Break Down the Savings
Based on the prices we pay for whole milk and our yogurt starter, we save approximately $6.44 per batch of yogurt that we make. Making our own yogurt is literally about 72% savings for us. Now, if you break this down over a year, this sort of savings adds up. Sometimes creating your own food creates a breather in the food budget and this is one of those fabulous examples.
So How Do You Like Your Yogurt?
At Mesa View Homestead, we prefer to let our yogurt culture for approximately 14 hours because we enjoy the tangier flavor. But you can experiment with shorter incubation times to find the flavor and consistency you enjoy.
Ingredients
- ½ gallon whole milk
- ½ cup plain whole-milk yogurt containing live, active cultures
That’s it! Two ingredients.
Equipment
- Large saucepan or pot
- Kitchen thermometer
- Whisk or spoon
- Clean, sanitized containers with lids
- A way to maintain a warm incubation temperature
Instructions
Step 1: Heat the milk
Pour the milk into a saucepan and slowly heat it to approximately 180–185°F, stirring regularly to prevent scorching.
This heating step helps produce a smoother, firmer yogurt. It also reduces bacteria that could compete with the yogurt cultures.
Step 2: Cool the milk
Remove the milk from the heat and allow it to cool to approximately 110°F.
This step is important! If the milk is too hot when you add your starter yogurt, it can kill the beneficial cultures responsible for turning milk into yogurt.
Step 3: Add your yogurt starter
Place your ½ cup of plain yogurt in a bowl and stir in a little of the warm milk until smooth.
Pour this mixture back into the remaining milk and gently stir until combined.
Step 4: Keep it warm and let it culture
Transfer your mixture into clean containers, cover, and maintain a temperature of approximately 110°F.
Allow the yogurt to culture undisturbed until it sets, generally 6–12 hours.
So the main question is—where do you leave your yogurt undisturbed, and how do you keep it at approximately 110°F?
Some people use an Instant Pot (my choice!). The Instant Pot has a setting specifically for making yogurt, which makes maintaining the temperature much easier.
But you have other options:
You can use a Crockpot with a yogurt setting or an insulated warm-water bath, provided you monitor the temperature. Some people use towels to help retain warmth.
An oven can also work. Simply place your covered yogurt containers in a deep pan of warm water and monitor the water temperature. Just remember that many ovens run too hot, even at their lowest setting.
You can even use an insulated cooler or thermos!
The important thing is maintaining a consistent temperature of approximately 110°F throughout the culturing process.
At Mesa View Homestead, we typically incubate our yogurt for approximately 14 hours because we enjoy a tangier flavor. Whatever method you choose, taste test to determine what you like!
Step 5: Refrigerate
Enjoy your homemade yogurt!
A Few Helpful Tips
- Start with plain yogurt containing live cultures. This is what transforms your milk into yogurt.
- Use a thermometer. Temperature matters, especially when adding the starter.
- Experiment with incubation time. Shorter incubation generally produces a milder flavor, while longer incubation creates more tartness.
- For thicker yogurt, strain the finished, chilled yogurt through a clean, fine-mesh strainer lined with cheesecloth.
- Save some yogurt for your next batch. A portion of freshly made yogurt can sometimes serve as the starter for another batch, provided the cultures remain active and the yogurt has been handled and stored safely.
So why do some people say you need to start with a 1/2 cup of yogurt from the store every time?
The bacterial cultures can become less effective over time. So if you notice thinner yogurt, longer incubation time needed, flavor changes and so on, it may be time to get a fresh yogurt starter from the store. But in the meantime, as you make yogurt, save a 1/2 cup from your batch to use as the starter in your next batch. Be sure you save your starter in a clean and sealed container and ideally, use it within 7 days or so. But remember – everything can be an experiment! So play with it 😊.
Reclaiming Food Knowledge
Just because we’ve heard that we can’t reuse homemade yogurt as a starter doesn’t mean we should automatically accept that statement as fact.
The real answer is more nuanced.
After all, do we really think people were running to the grocery store for a fresh yogurt starter every time they wanted to make another batch? And were they making it in an Instant Pot? 😂
Of course not!
We can question belief systems, examine the evidence, experiment safely, and reclaim food knowledge on our own terms.
Happy Yogurt Making! And Join our Reclaiming Your Food Supply Series click here. Get your free workbook here.
Easy Homemade Yogurt: Just Two Ingredients
Equipment
- Large saucepan or pot
- Kitchen thermometer
- Whisk or spoon
- Clean, sanitized containers with lids
- A way to maintain a warm incubation temperature
Ingredients
- ½ gallon whole milk
- ½ cup plain whole-milk yogurt containing live, active cultures
Instructions
- Heat the milk.Pour the milk into a saucepan and slowly heat it to approximately 180–185°F, stirring regularly to prevent scorching.This heating step helps produce a smoother, firmer yogurt. It also reduces bacteria that could compete with the yogurt cultures.Cool the milk.
- Remove the milk from the heat and allow it to cool to approximately 110°F. This step is important! If the milk is too hot when you add your starter yogurt, it can kill the beneficial cultures responsible for turning milk into yogurt.
- Add your yogurt starter. Place your ½ cup of plain yogurt in a bowl and stir in a little of the warm milk until smooth. Pour this mixture back into the remaining milk and gently stir until combined.
- Keep it warm and let it culture.
- Transfer your mixture into clean containers, cover, and maintain a temperature of approximately 110°F. Allow the yogurt to culture undisturbed until it sets, generally 6–12 hours.
- So the main question is—where do you leave your yogurt undisturbed, and how do you keep it at approximately 110°F?
- Some people use an Instant Pot (my choice!). The Instant Pot has a setting specifically for making yogurt, which makes maintaining the temperature much easier.But you have other options!You can use a Crockpot with a yogurt setting or an insulated warm-water bath, provided you monitor the temperature. Some people use towels to help retain warmth.An oven can also work. Simply place your covered yogurt containers in a deep pan of warm water and monitor the water temperature. Just remember that many ovens run too hot, even at their lowest setting.You can even use an insulated cooler or thermos!The important thing is maintaining a consistent temperature of approximately 110°F throughout the culturing process.At Mesa View Homestead, we typically incubate our yogurt for approximately 14 hours because we enjoy a tangier flavor. Whatever method you choose, taste test to determine what you like!
- Refrigerate.
- Enjoy your homemade yogurt!